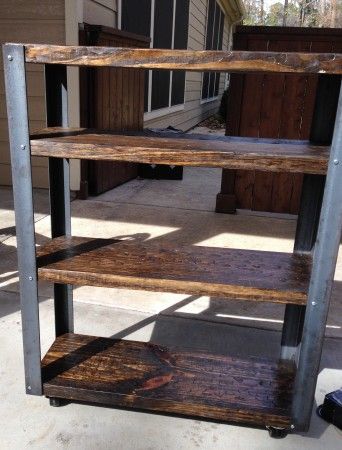
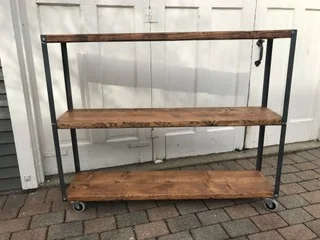
DIY Industrial Cart
The use of "industrial" design pieces adds interest to any space. I love it! This industrial cart is easy to make and only takes a couple of hours to complete! The clean and simple industrial nature of this cart can be customized to fit any space. It can be 6' long and low with only a couple of shelves or 2' long and high with lots of shelves. Use it as a book shelf, a tv console, an art cart, toy storage shelves, kitchen storage, bar cart...the possibilities are endless and I love it!!!
Here are my step by step instructions on how to create your own industrial cart:
Shopping list:
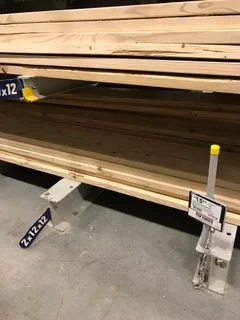
- 2-2X12x8' boards
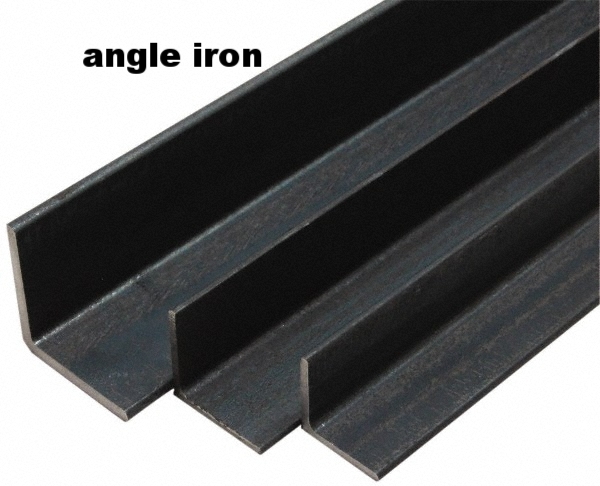
- 2-6' pieces of angle iron (you can get them in shorter pieces if you don't want to cut them yourself)
- 24-2" wood screws to attach angle iron
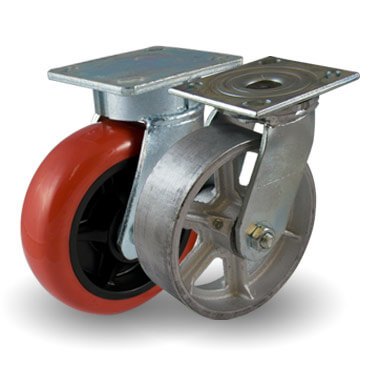
- 4-castors (you can choose any style you like)
- 16- 1 1/2" wood screws to attach castors and washers
I had them cut my 2X12X8' boards in half for me at Lowes. They are always happy to help with that and it make loading it into your car so much easier!
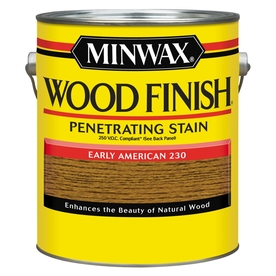
I sanded the boards, especially the ends, and then I stained them. My favorite stain to use right now is Early American or English Chestnut by Minwax, but you can go with a natural look, a dark ebony, a weathered grey....the options are endless. I also like to distress the boards by hitting them with hammers, chains, wire brushes to give them an aged look when I stain them. But again, that is up to you and the look you are trying to achieve. You can even use reclaimed boards if you are lucky enough to find them or have a source.

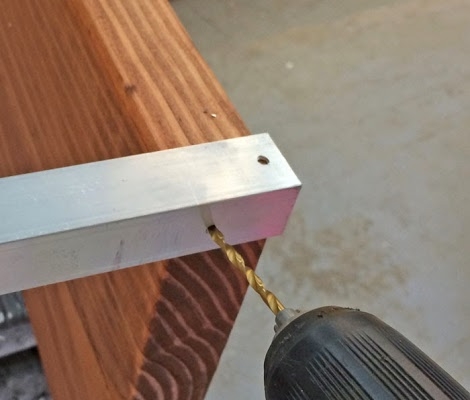
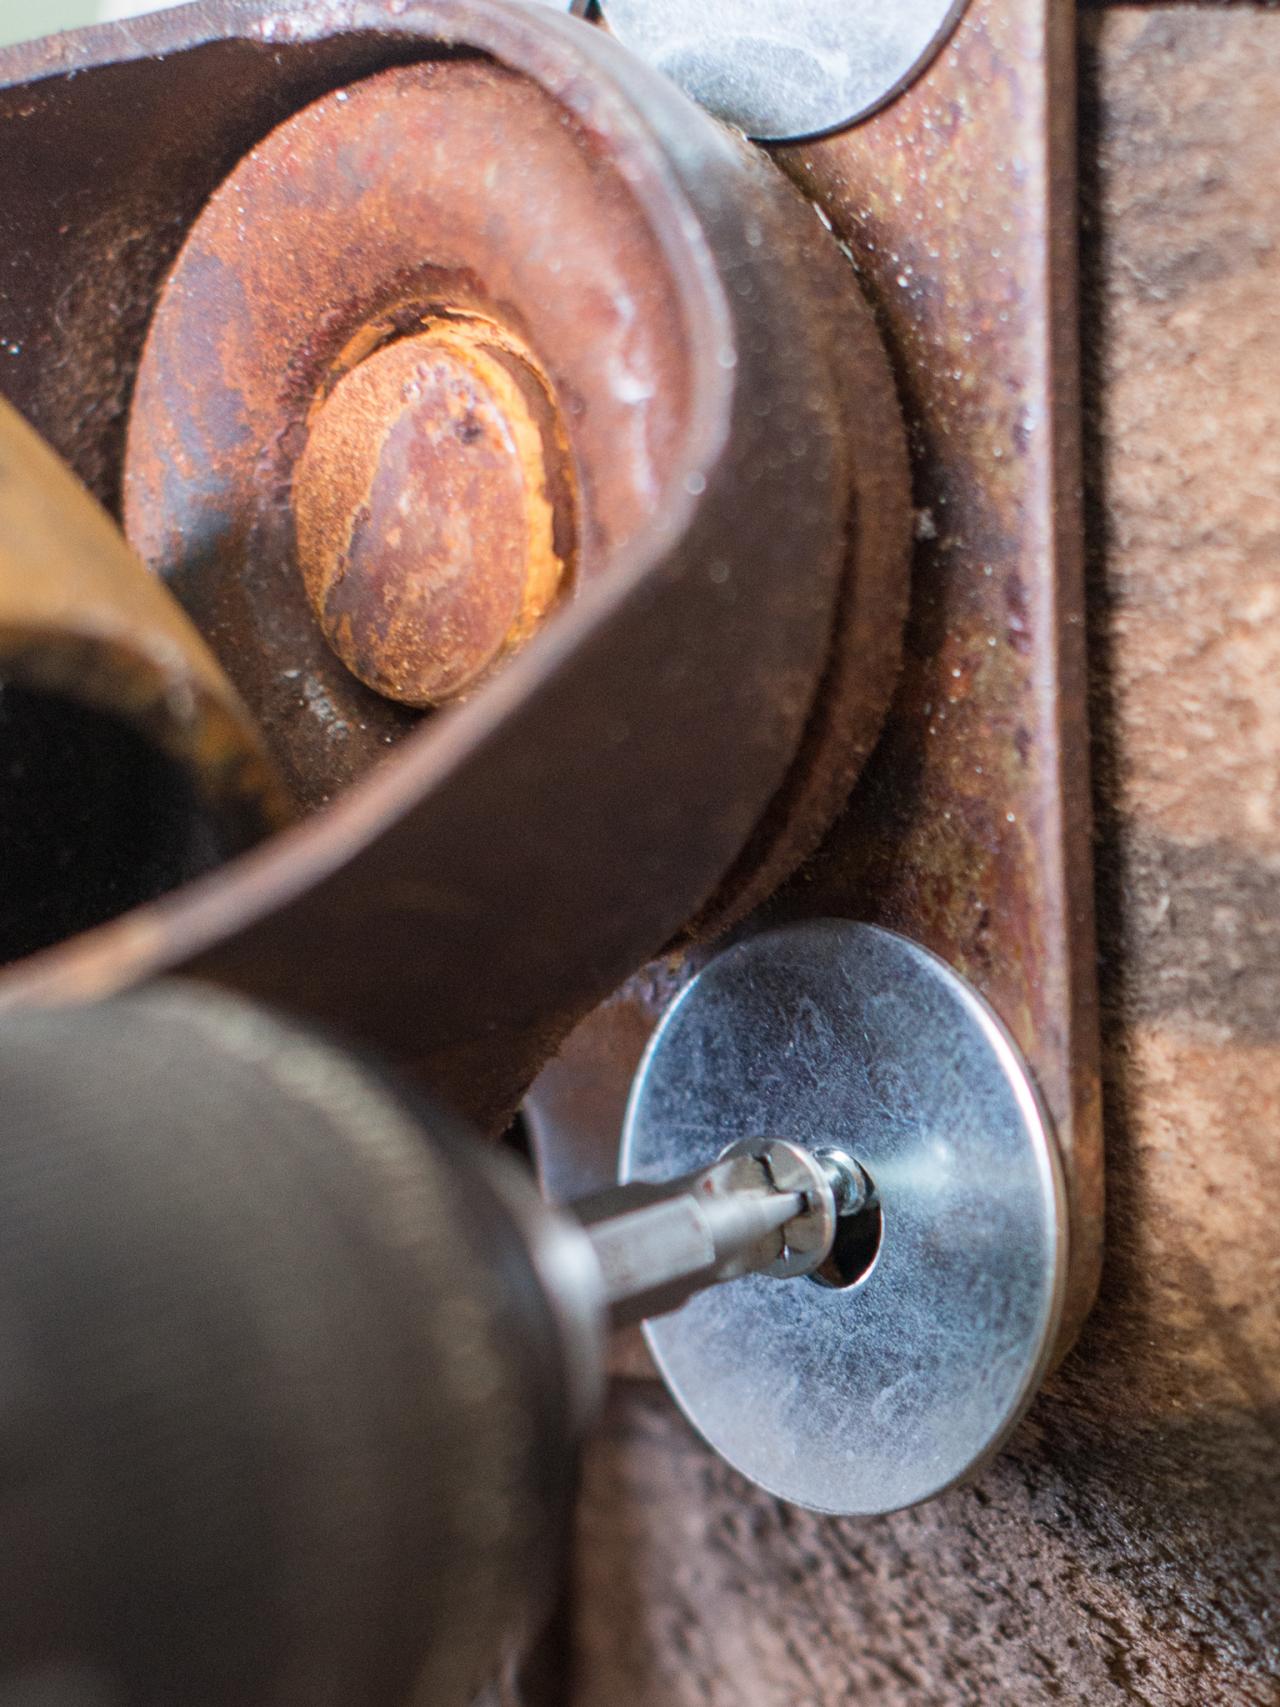
Now for the angle iron. You can find it at any hardware store. It comes in a variety of lengths. I needed 4-3' pieces for this particular shelf, so I got 2-6' lengths and cut them because it was cheaper. You can get 3' lengths already cut, but it costs a bit more. I use a metal blade on my jigsaw, clamp the piece of angle iron to the work table and cut. It cuts like butter! If you don't like the dark, rustic look of the angle iron, you can spray paint it to whatever color you like. You can also get angle aluminum which will give you a cleaner, shiny silver look. An example of the angle aluminum is shown where I am predrilling the holes below.
I laid my 3 boards on their sides and place a piece on angle iron on the corner of the boards. Then I predrilled (using a metal drill bit) through the angle iron where I wanted to place my screws. One on each side of the iron.

Once I predrilled all the holes on one corner, I sunk the 2" wood screws in to secure the board to the angle iron. Then I repeated this process on each corner. Stagger the screws at the corners so they don't hit each other (as shown above). The only tricky part here is measuring precisely to get the shelves equal distances apart at each corner, so that the shelves will be level.
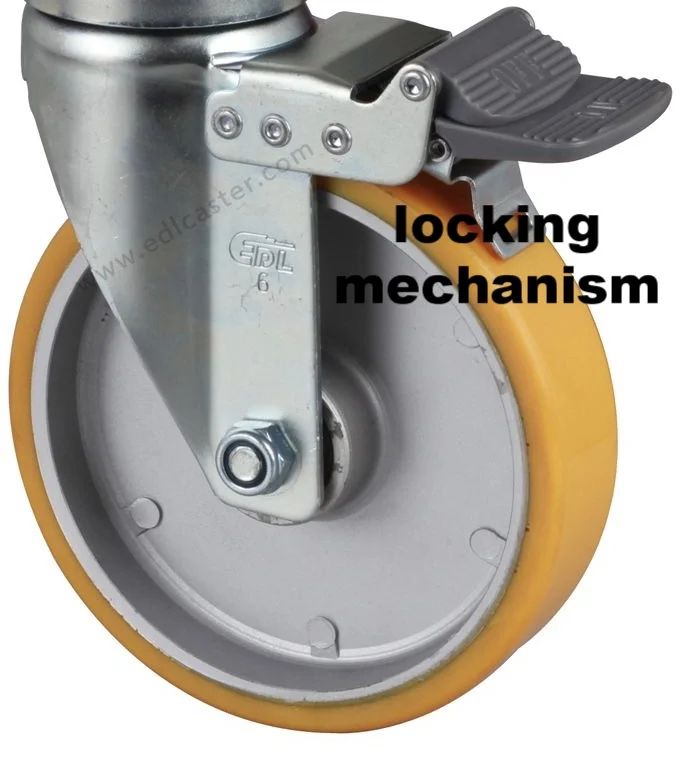
Now flip the piece over and screw the castors in the 4 corners on the bottom. Depending on your casters, you may need to use a washer along with your screw so the screw head doesn't go through the hole on the plate of the caster. All hardware stores carry casters, but you can also find unique ones online. I always like to get at least 2 "locking" casters, so you can lock the wheels and your cart doesn't roll all over the place unless you want to move it. And with that, you're done!


I made a cart for my sister in laws kitchen and I made a tall one for book storage for a friend. This is such a versatile and easy project and for around $70 (depending on the size you choose to create and the materials you use) you can have a one of a kind piece customized to your specifications. Get to your hardware store and give it a try!